

If you’re building Glide apps there’s always Glide University, a large library of YouTube Tutorials, structured Certification Courses, and Glide Docs for reference. But sometimes you just need some inspiration. Here we have 95 useful tips for building in Glide from A to Z, supplied by some of the top Glide Experts and team members. Bookmark this guide for use whenever you want new ideas.
Getting started on your app (Tips 1-15)
Tip 1: Copy template data structures, not just designs. When copying templates, focus on their data relationships and computed columns—not just the visual layout. The real value is in how they structure Relations between tables and use Rollup columns for calculations.
Tip 2: Upload your spreadsheets to Agent to create apps. Upload your current Excel/CSV files to the Glide Agent and ask it to "create an app that improves this workflow." The Agent will identify inefficiencies in your current process and build an app around your data.
Tip 3: Generate QR codes and post them in physical locations. Create the QR code from your publish screen and display it in offices, meeting rooms, or workstations. Team members can scan and bookmark your app without IT department involvement or app store approvals.
Tip 4: Select components before switching editors to maintain context. Choose a component in Layout Editor before switching to Data Editor. Glide will highlight that component's data source automatically, keeping you oriented in complex apps.
Tip 5: Build workflows around the 2-minute sync cycle. Design your processes knowing Google Sheets data updates appear in Glide within 2 minutes. Create workflows that rely on this timing rather than manual refresh buttons.
Tip 6: Move calculation-heavy data to Glide Tables. Migrate complex formulas from Google Sheets to Glide Tables as computed columns. Unlike external spreadsheets, Glide Tables handle hundreds of computed columns without performance impact.
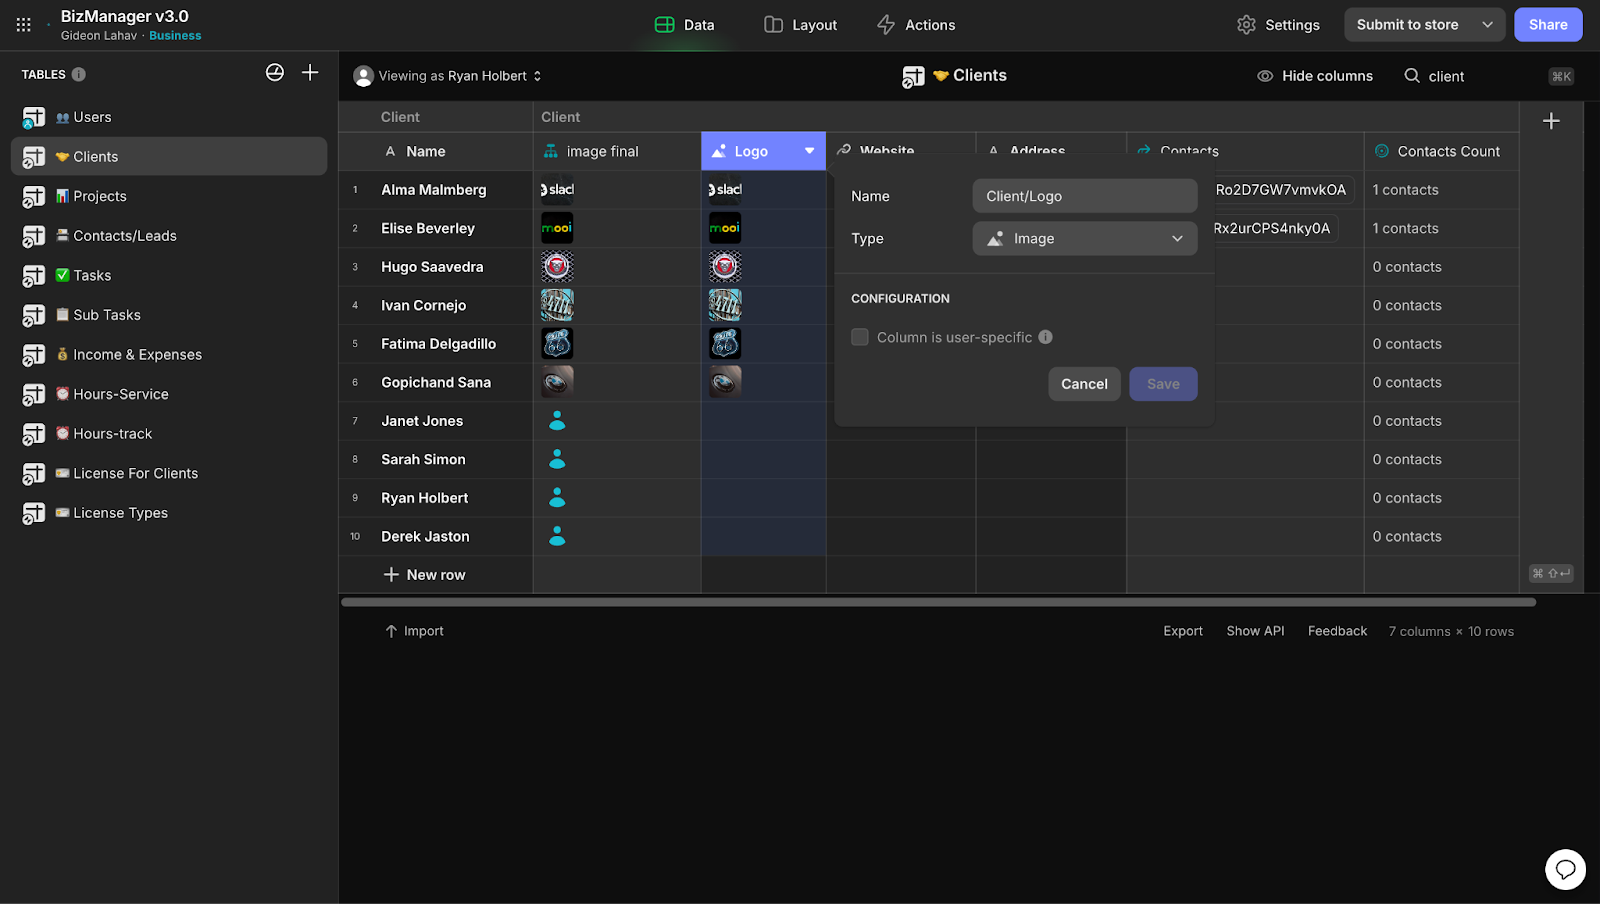
Tip 7: Upload PNG icons with transparent backgrounds. Use PNG files with transparency as your app icon instead of solid colors. They display properly on any device background color, making your app look more polished than opaque icons.
Tip 8: Plan your data structure by adding empty columns first. Add all the columns you'll need to your table before building forms. Glide automatically creates form fields for empty columns, pre-configuring your data entry screens.
Tip 9: Debug computed columns using the Data Tab. Edit data in the Data Tab while watching computed columns calculate in real-time. This instant feedback helps debug Relations, Math columns, and If-Then-Else logic without switching editors.
Tip 10: Configure your first component carefully as a template. Set up your initial component with proper styling and data sources. When you add the same component type again, Glide remembers these settings, speeding up consistent app building.
Tip 11: Right-click on relation columns to jump between tables. Use the "View related data" option in right-click menus on relation columns. This shortcut lets you navigate between connected tables faster than manual navigation.
Tip 12: Use unified undo across all editors. Press Ctrl/Cmd+Z from any editor to undo actions from other editors. Glide maintains one undo history across Data, Layout, and Workflow editors for seamless mistake recovery.
Tip 13: Collapse unused interface sections on slow connections. Minimize interface areas you're not using to improve builder performance. Glide loads fewer UI elements, making the builder more responsive on slower internet connections.
Tip 14: Test mobile-specific features using the mobile preview URL. Send the mobile preview link to your phone to test camera access, GPS, and touch gestures. Desktop preview can't simulate these mobile-only capabilities.
Tip 15: Import all your data first, then filter with visibility conditions. Upload complete datasets even if you don't need everything initially. It's easier to hide data with visibility conditions than to restructure your data source later.
Data management in Glide (Tips 16-30)
Tip 16: Add Row ID columns to tables with external data sources. Create a Row ID column in your Google Sheets or Airtable tables before connecting to Glide. This prevents data corruption when rows are deleted, as Glide references stay stable even when external row numbers change.
Tip 17: Use short ID codes instead of full emails in Relations. Create brief ID codes (JD001, MS045) rather than matching full email addresses in Relations. Shorter text matching improves relation performance significantly with large datasets.
Tip 18: Chain Relations to pull data across multiple table connections. Build chains like Order → Customer → Company → Industry using multiple Relations. One Lookup can then pull industry names from orders through three table relationships, eliminating data duplication.
Tip 19: Apply filters to Relations before using Rollup calculations. Filter your Relations first, then use Rollup columns on the filtered results. This creates dynamic KPIs that update automatically—like counting only "overdue tasks" instead of all tasks.
Tip 20: Use Math columns for text concatenation, not just numbers. Combine text fields using Math columns: "First Name" + " " + "Last Name" creates full names. This approach updates automatically when source data changes, unlike static concatenation.
Tip 21: Reference other computed columns in If-Then-Else logic. Chain your business logic by having If-Then-Else columns reference other computed column results. Create sophisticated scoring systems that consider multiple calculated factors.
Tip 22: Design one large table with categories instead of many small ones. Use a single table with type/category columns rather than multiple related tables. Add If-Then-Else columns to show different views of the same data—this often performs better than complex Relations.
Tip 23: Mark columns as User-specific for cross-device personal data. Set personal data columns (favorites, notes, preferences) as User-specific. This data follows users across all their devices automatically, creating consistent personal experiences.
Tip 24: Set Row Owners to email domains for automatic team access. Use "@company.com" as a Row Owner to give access to anyone with that email domain. This scales team access automatically without manually listing every team member.
Tip 25: Create computed columns in Linked Tables to share logic across apps. Build your business logic (pricing rules, calculations, validations) in Linked Glide Tables. When you create computed columns there, they appear in all apps using that table.
Tip 26: Mark sensitive columns as Protected to block API access. Set truly sensitive data (internal notes, pricing calculations) as Protected Columns. This secures data from both app users and external API access attempts.
Tip 27: Generate CSV exports to capture computed column results. Use CSV generation to back up processed data, not just raw data. Generated CSVs include all computed column calculations, creating ready-to-use datasets for external analysis.
Tip 28: Use Google Sheets QUERY functions to pre-filter large datasets. Add QUERY functions in Google Sheets to filter data before Glide imports it. This reduces your Glide data usage while maintaining real-time connections to external data.
Tip 29: Store app-wide settings in Single Value columns. Put configuration data (company name, support email, feature flags) in Single Value columns. Change one cell to update these values throughout your entire app instantly.
Tip 30: Build Joined Lists from Relations with visibility conditions. Create Relations that respect visibility filters, then use Joined List columns on them. This creates dynamic, filtered tag lists that automatically exclude hidden items.

Assembling app components and interface (Tips 31-45)
Tip 31: Design Collections to show the most important data first. Place your highest-priority items at the top of Collections. Collections load 20 items initially, then batch-load more as users scroll, so front-load critical information for better performance perception.
Tip 32: Rename columns in Data Editor to automatically update component bindings. Change column names in the Data Editor and watch all components using those columns update their bindings automatically. This lets you refactor data structures without manually fixing broken component references.
Tip 33: Use expensive computed columns in visibility conditions without penalty. Apply complex visibility conditions using Rollup or Relation columns freely. Glide only calculates these conditions when components might become visible, using lazy evaluation for performance.
Tip 34: Establish your design system by configuring first components carefully. Set colors, spacing, and styling on your first few components thoughtfully. These choices become defaults for similar components throughout your app, creating consistent design patterns.
Tip 35: Design swipe actions for quick status changes, tap actions for navigation. Configure swipe actions to trigger immediate data updates (mark complete, archive, favorite). Reserve tap actions for navigation to detail screens. This interaction pattern feels natural to users.
Tip 36: Point form fields to specific column types for automatic validation. Connect form fields to Number columns for automatic numeric validation, Date columns for date pickers, and Boolean columns for toggles. Use proper column types to get built-in validation without custom logic.
Tip 37: Branch multi-step forms using If-Then logic. Design multi-step forms that show different next steps based on previous answers. Use If-Then conditions to create dynamic surveys or applications that adapt to user responses.
Tip 38: Upload custom images as Action Row icons. Replace Glide's built-in icons with your own uploaded images in Action Row components. This creates branded, custom interfaces that match your company style and professional standards.
Tip 39: Create depth using gradient image files as Container backgrounds. Upload gradient images as Container backgrounds instead of using solid colors. This creates visual depth and professional polish without impacting app performance or loading speed.
Tip 40: Leverage inherited filtering in detail screens. Design detail screens that automatically maintain any filters applied to their parent Collection. Users get contextual detail views that respect their current filtering choices, improving navigation logic.
Tip 41: Connect Image components to Template columns for dynamic visuals. Point Image components to Template columns that construct URLs based on user data. Create personalized charts, profile images, or data visualizations that change automatically for each user.
Tip 42: Build real-time dashboards using Chart components with live data. Connect Charts to tables that update frequently. Charts refresh automatically as data changes, creating live dashboards that reflect current business metrics without manual intervention.
Tip 43: Stream live content using external URLs in Audio components. Use streaming URLs (podcast feeds, radio stations, live audio) in Audio components instead of static files. Glide handles the streaming automatically, enabling dynamic audio content.
Tip 44: Enable automatic point clustering on Map components for performance. Let Map components cluster nearby points automatically when displaying many locations. This improves both visual clarity and performance for store locators or service area maps.
Tip 45: Pass user data to embedded tools via URL parameters. Construct URLs with user-specific data as parameters before embedding external tools. Pass user IDs, preferences, or context to create personalized embedded experiences.
Configuring actions and workflows (Tips 46-60)
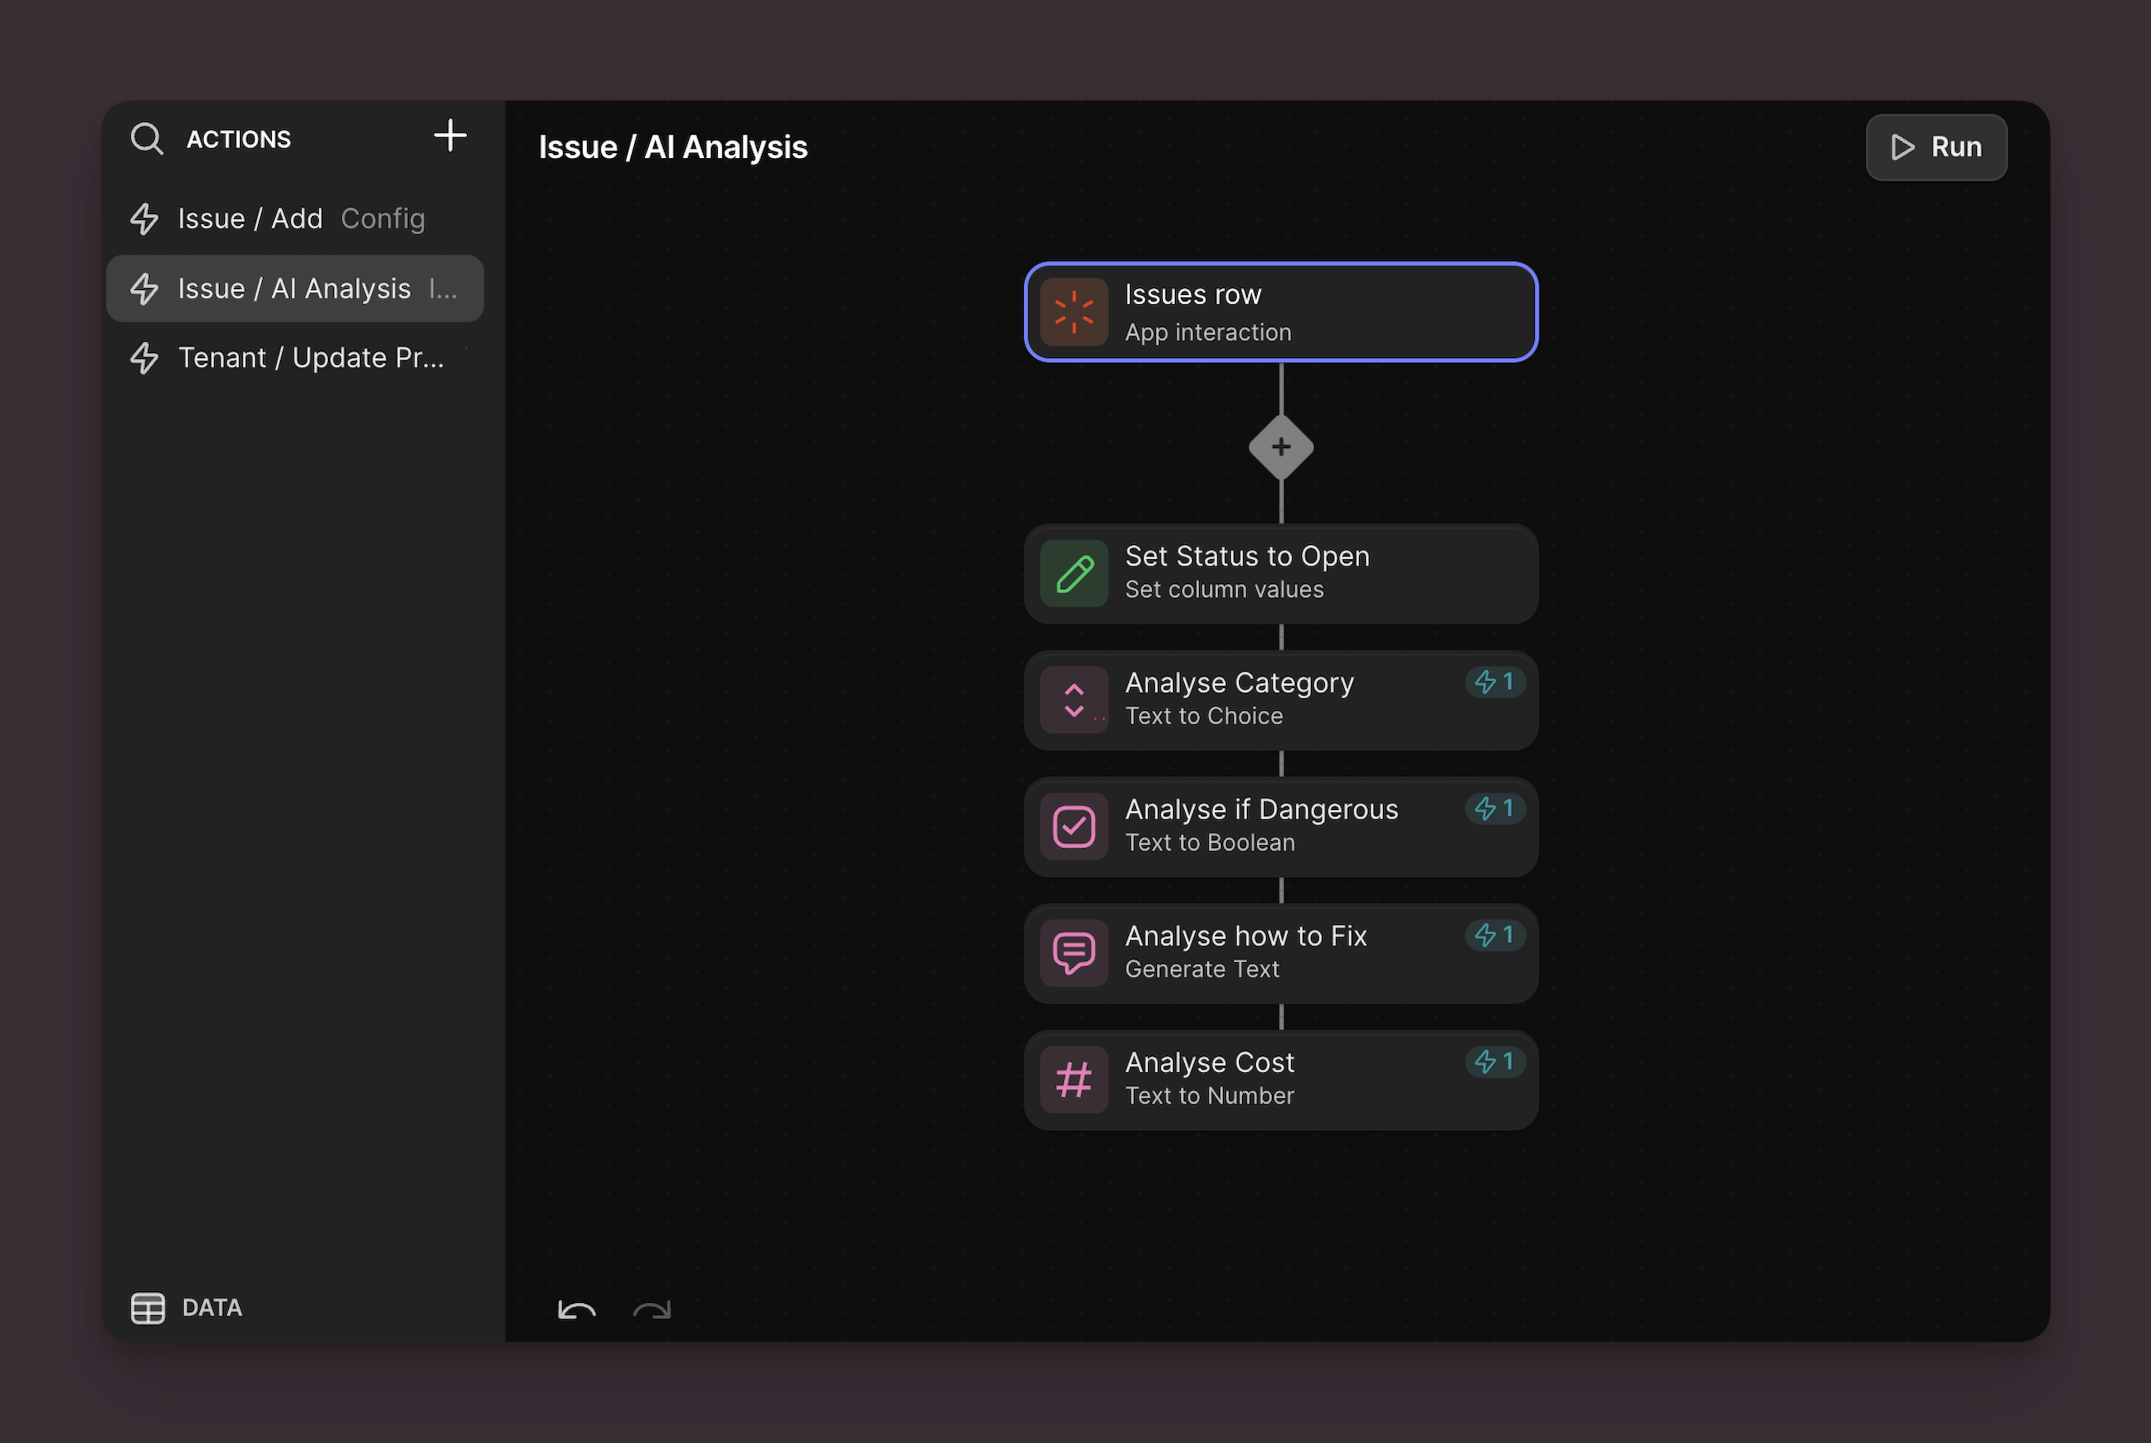
Tip 46: Add If-Then conditions that evaluate to false to skip workflow steps. Insert conditions in your workflows that intentionally skip steps when certain criteria aren't met. This creates adaptive workflows that respond intelligently to the current data state.
Tip 47: Use Special Values in Set Column Values to track user activity automatically. Configure Set Column Values actions to capture the current user's email, timestamp, or device info. This automatically tracks who performed actions and when without manual data entry.
Tip 48: Chain workflows using Trigger Workflow actions. Design approval processes where each step automatically triggers the next workflow. Create sophisticated automation chains that progress through multiple stages without manual intervention.
Tip 49: Use webhook responses in workflow conditions. Configure workflow conditions that check external API responses before proceeding. This creates integrations that adapt their behavior based on real-time external system states.
Tip 50: Order form submission actions with critical actions first. Place important actions (email notifications, data logging) before navigation actions in form workflows. This ensures critical operations complete even if users navigate away quickly.
Tip 51: Include user-specific data in notification text using Template columns. Reference computed values and user data in notification messages. Create notifications that include specific user names, record details, or calculated results for personalized feedback.
Tip 52: Pass filter context between tabs using Set Column Values before navigation. Update user-specific columns with current filter settings before Go to Tab actions. This maintains user selections and search context as they navigate through your app.
Tip 53: Configure phone actions to work with users' preferred calling apps. Set up Dial Phone Number actions knowing they integrate with whatever calling app users have configured—VoIP apps, business systems, or accessibility tools.
Tip 54: Create collaborative workflows using Share Link with pre-filled data. Construct share URLs that include form parameters, enabling users to share partially completed forms or templates. Perfect for team collaboration and approval workflows.
Tip 55: Copy Template column results with formatting intact. Configure Copy to Clipboard actions to copy formatted Template column output. Users can paste rich content with line breaks and structure into emails or documents.
Tip 56: Improve voice transcription by providing context in placeholder text. Include expected vocabulary, technical terms, or format examples in the transcription placeholder field. This context significantly improves AI transcription accuracy.
Tip 57: Trigger complex workflows from barcode scanning. Configure scanned barcode data to automatically trigger lookups, API calls, or data updates. Create sophisticated inventory or check-in systems with single-scan automation.
Tip 58: Generate filtered CSV exports that match user's current view. Set up CSV generation that respects active Collection filters and search terms. Users get precisely the data they're currently viewing, not the entire unfiltered dataset.
Tip 59: Design parallel action execution for independent operations. Configure workflow steps that don't depend on each other to execute simultaneously. This improves overall workflow performance when multiple independent actions are needed.
Tip 60: Monitor external data changes using Wait for Condition. Set up workflows that pause until third-party systems update specific data fields. This creates integration workflows that respond automatically to external system events.
type: embedded-entry-inline id: 1Pu9gfQ9UWpHSjYobiUtkf
Adding AI and automation (Tips 61-75)
Tip 61: Take photos with high contrast and good lighting for better OCR. Use clear backgrounds and avoid shadows when capturing text with Extract Text features. Dark text on light backgrounds with good lighting dramatically improves AI text recognition accuracy.
Tip 62: Let users speak in their preferred language without changing settings. Configure Speech to Text features without language restrictions. Glide automatically detects spoken languages, allowing multilingual teams to use voice features naturally.
Tip 63: Include conversation history in AI Chat prompts by referencing related columns. Reference previous responses or related data in your AI prompts. This creates more coherent, context-aware AI responses that understand ongoing conversations or user history.
Tip 64: Include domain glossaries in AI translation instructions. Add technical term definitions and industry-specific vocabulary to translation prompts. This ensures AI maintains consistency for specialized terminology across all translated content.
Tip 65: Use AI data conversion to handle messy user input gracefully. Configure Text to Date columns to interpret flexible formats like "next Friday" or "Q2 2024." This reduces user frustration with strict format requirements while maintaining data consistency.
Tip 66: Provide example data to improve AI categorization accuracy. Feed Text to Choice columns with diverse examples of existing data patterns. The more varied examples you provide, the more accurately AI will categorize new content.
Tip 67: Build document processing pipelines by chaining AI actions. Sequence Extract Text → Translate → Categorize actions in workflows. Create automated document processing that handles multiple languages and formats without manual intervention.
Tip 68: Access device capabilities using JavaScript columns. Write JavaScript that accesses user location, device information, or timestamp data for advanced personalization. Go beyond calculations to create context-aware app experiences.
Tip 69: Optimize AI prompts for brevity to control costs. Write clear, concise prompts instead of lengthy explanations. OpenAI integration costs scale with prompt complexity, so brevity improves both performance and budget management.
Tip 70: Write detailed AI instructions with output format examples. Spend time crafting precise instructions that include examples of the desired output format. Quality instructions dramatically reduce the need for manual cleanup of AI-generated content.
Tip 71: Process mixed data types in single AI operations. Configure AI features to handle combinations of text, numbers, dates, and boolean values simultaneously. Create comprehensive data cleanup workflows that address multiple quality issues at once.
Tip 72: Configure AI to suggest corrections rather than just rejecting invalid data. Set up smart validation that proposes fixes for common errors. Instead of rejecting "johncompany.com", have AI suggest "john@company.com" as a correction.
Tip 73: Combine Template columns with AI Chat for dynamic personalization. Create Template columns that feed user-specific data into AI Chat prompts. Generate personalized emails, reports, or recommendations that include individual user information automatically.
Tip 74: Test Experimental features in duplicate apps before production use. Clone your app to test Experimental columns safely. This approach lets you evaluate new features without risking your live app functionality or user experience.
Tip 75: Monitor AI usage patterns in your dashboard to optimize high-cost features. Track which AI features consume the most credits in your usage analytics. Focus optimization efforts on the highest-usage AI features for maximum cost reduction impact.
type: embedded-entry-inline id: 7g15Jg0zXf7Zc60y4dTDm9
Setting up integrations and external connections (Tips 76-90)
Tip 76: Slack notifications can include interactive buttons. Send Slack messages with action buttons that trigger Glide workflows when clicked. Create approval processes where managers can approve requests directly from Slack.
Tip 77: Webhooks can retry failed requests automatically. Configure webhook retry logic for unreliable external APIs. Glide will attempt delivery multiple times, improving integration reliability with third-party services.
Tip 78: Email templates can include app data as attachments. Generate CSV or PDF attachments dynamically and include them in automated emails. Send personalized reports or data exports automatically.
Tip 79: Payment integration can handle subscription billing. Connect payment processors that support recurring billing to create subscription-based apps. Handle trial periods, upgrades, and cancellations automatically.
Tip 80: Calendar integration supports multiple calendar types. Connect to Google Calendar, Outlook, or other calendar services simultaneously. Users see events from all their calendars in one unified app view.
Tip 81: Social media integration can post on user behalf. With proper authentication, post updates to users' social media accounts automatically. Create apps that help users maintain consistent social presence.
Tip 82: Zapier integration can trigger based on data changes. Set up Zapier workflows that activate when specific Glide data changes. Create complex automation chains that span multiple business tools.
Tip 83: SSO integration can pass user role information. Single sign-on can include user role data from your identity provider. Use this information to automatically configure app permissions based on organizational roles.
Tip 84: Analytics integration can track custom business events. Send custom event data to analytics platforms when users complete specific app workflows. Track business-specific metrics beyond standard app usage.
Tip 85: Support chat integration can include app context. Pass current user data and app state to support chat tools. Support agents see what the user was doing when they requested help, improving resolution speed.
Tip 86: File storage integration can be organized by app logic. Automatically organize uploaded files in cloud storage based on app data (user, project, date). Create structured file systems that mirror your app's data organization.
Tip 87: API connections can cache responses for performance. Use Glide's computed columns to cache API responses and reduce external API calls. Update cached data on schedule or when specific conditions change.
Tip 88: Real-time sync can prioritize critical data updates. Configure which data changes trigger immediate external system updates versus batch processing. Prioritize urgent updates while batching less critical changes.
Tip 89: Location services can work offline with cached data. Cache location data in Glide Tables for offline functionality. Apps can still show nearby locations and calculate distances even without internet connectivity.
Tip 90: Integration health monitoring can trigger automatic alerts. Set up monitoring workflows that check integration status and send alerts when connections fail. Proactive monitoring prevents silent integration failures.
Advanced tips (Bonus tips 91-95)
Tip 91: Big Tables sacrifice some features for scale. Glide Big Tables can't use certain computed columns (like Rollup with complex Relations), but handle millions of rows efficiently. Choose based on your scale vs. feature needs.
Tip 92: Permission inheritance creates scalable security models. Design permission hierarchies where team leads inherit access to their team's data automatically. Use Relations and Row Owners to create dynamic, self-maintaining security.
Tip 93: Linked tables can share computed logic across business units. Create a master table with business logic (pricing, rules, calculations) that multiple departmental apps reference. Change business rules once to update all apps.
Tip 94: Progressive web app features work on mobile devices. Glide apps support offline functionality, push notifications, and home screen installation on mobile devices. Design workflows that gracefully handle offline usage.
Tip 95: Data architecture planning prevents expensive refactoring. Changing data structure in apps with complex Relations and workflows can require complete rebuilds. Invest time in proper data modeling before building complex features.
type: embedded-entry-inline id: 3P3V7YcyUk8jt7fPGDWNRb
Keep building your apps…
If you’ve looked through all these tips and want to keep learning in a more structured way, take the three levels of Glide Certification or challenge yourself with the advanced AI Certification or Intelligent Automation Certification.


